How to re-size your Link Bracelet
Please watch the video below for instructions on how to re-size your link bracelet.
Women's Styles:
Men's Styles - please watch the Womens styles first for more details:
If you forgot to purchase a sizing tool with your original order you can buy one here: https://magneticmobility.ie/products/bracelet-re-sizeing-tool
If your bracelet is too small and you need extra links you can purchase them here: https://magneticmobility.ie/products/extra-links
Sizing a Link Bracelet: A Step-By-Step Guide
Tools Needed:
- Link Bracelet
- Sizing tool (usually comes with the bracelet)
- Extra pins (usually comes with the sizing tool)
Steps:
-
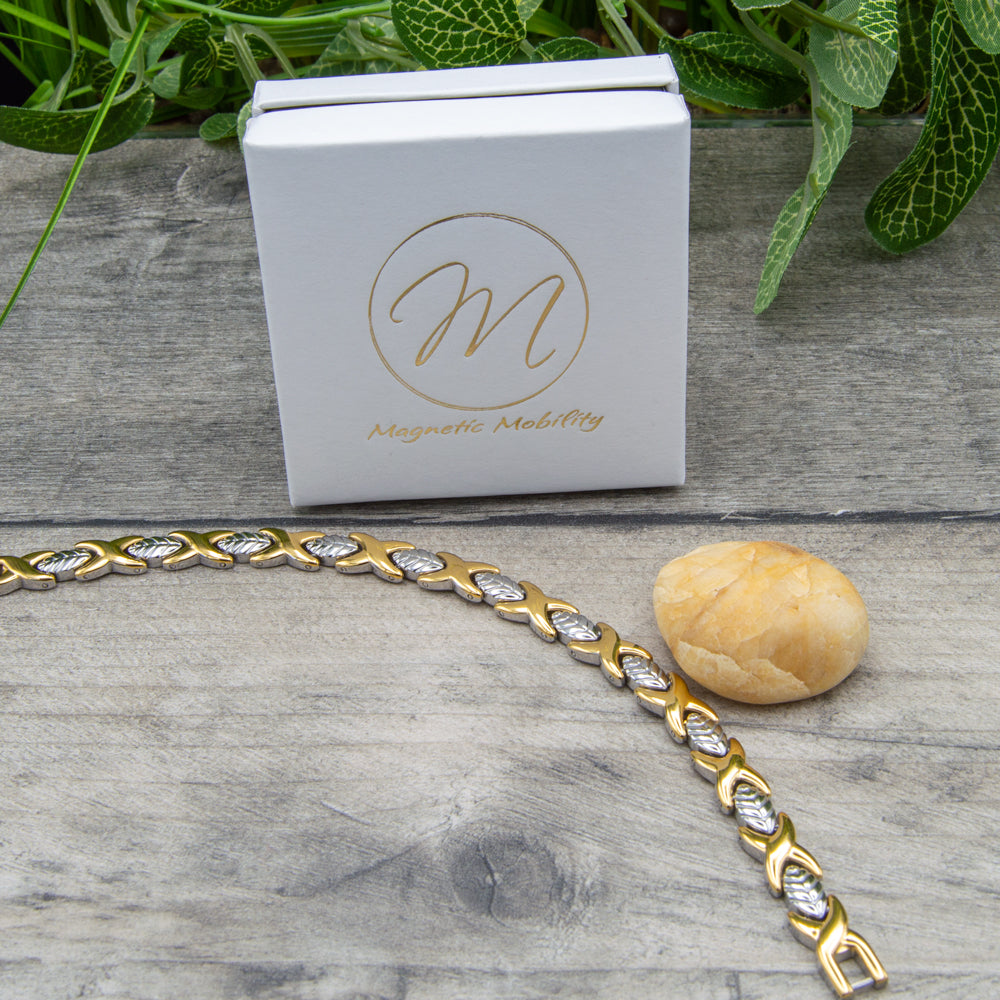
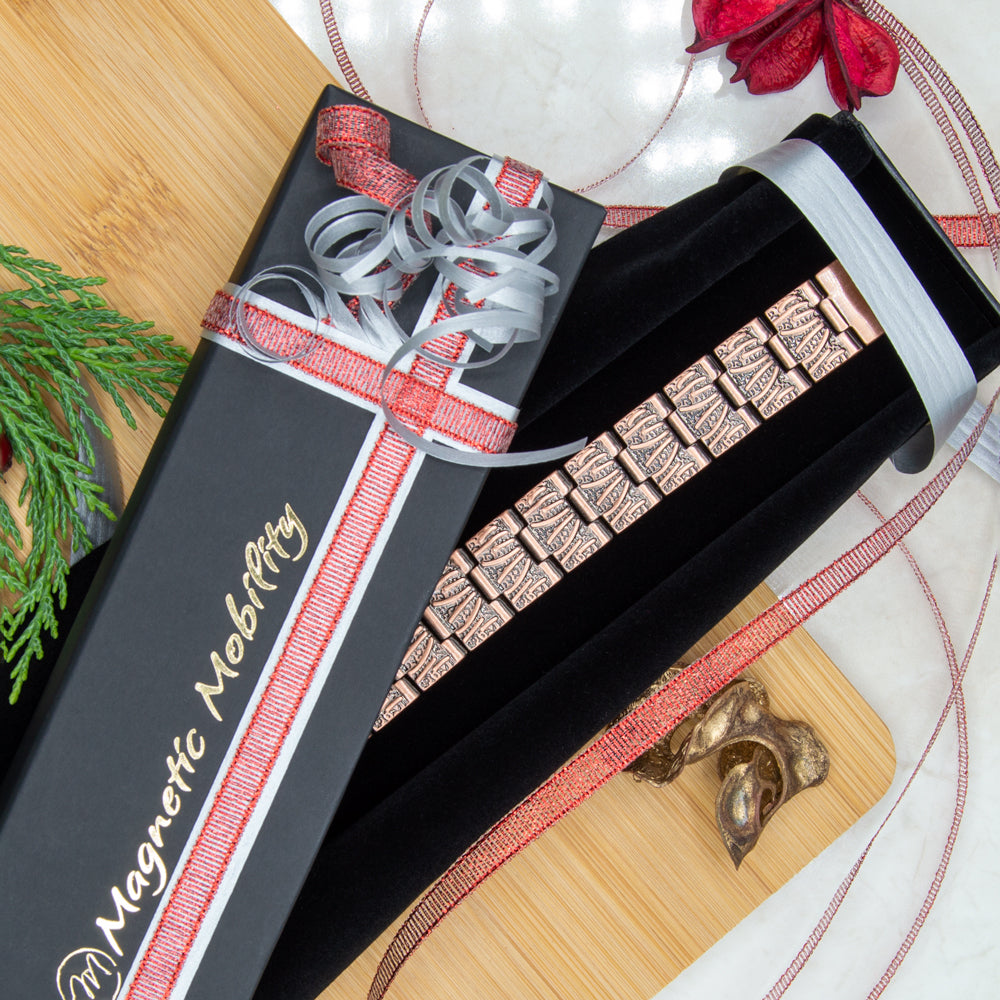
Unboxing: When you receive your bracelet, it will come in either a gift box or a satin bag, along with a sizing tool.
-
Understanding the Bracelet: Notice that on one side of the bracelet, there are little indents. On the opposite side, the bracelet is flush with the edge. The flush side is the locking pin side. Always start from the side with the indents, never from the flush side.
-
Identify How Many Links to Remove: Decide how many links you want to remove from your bracelet.
-
Prepare the Sizing Tool: The sizing tool will be initially closed. Open it enough to fit the bracelet inside.
-
Align the Bracelet with the Sizing Tool: Position the bracelet within the sizing tool such that the indented hole lines up with the tip of the pin on the tool.
-
Begin Removing the Links: Twist the pin on the sizing tool to push out the pin in the bracelet link. You will see the pin start to emerge from the bracelet.
-
Extract the Pin: Remove the bracelet from the sizing tool. Extract the protruding pin from the bracelet, disconnecting one side of the link.
-
Remove Additional Links: If you're removing more than one link, repeat steps 5-7.
-
Reconnect the Bracelet: After removing the desired amount of links, line up the holes of the remaining links on both ends of the bracelet and insert the pin back into the holes, thereby reconnecting the bracelet. Ensure that you insert the pin in the correct direction, from the indented side to the flush side.
-
Check the Fit: Try on your bracelet to ensure it fits to your satisfaction.
Remember, it's crucial to always push out the pins from the indented side to the flush side, not the other way around. If you encounter difficulty or accidentally bend a pin, use one of the spare pins provided in your sizing kit.


